Chain Adjustment Made Straightforward: Tru-Rigidity Chain & Laser Monkey Evaluate

[ad_1]
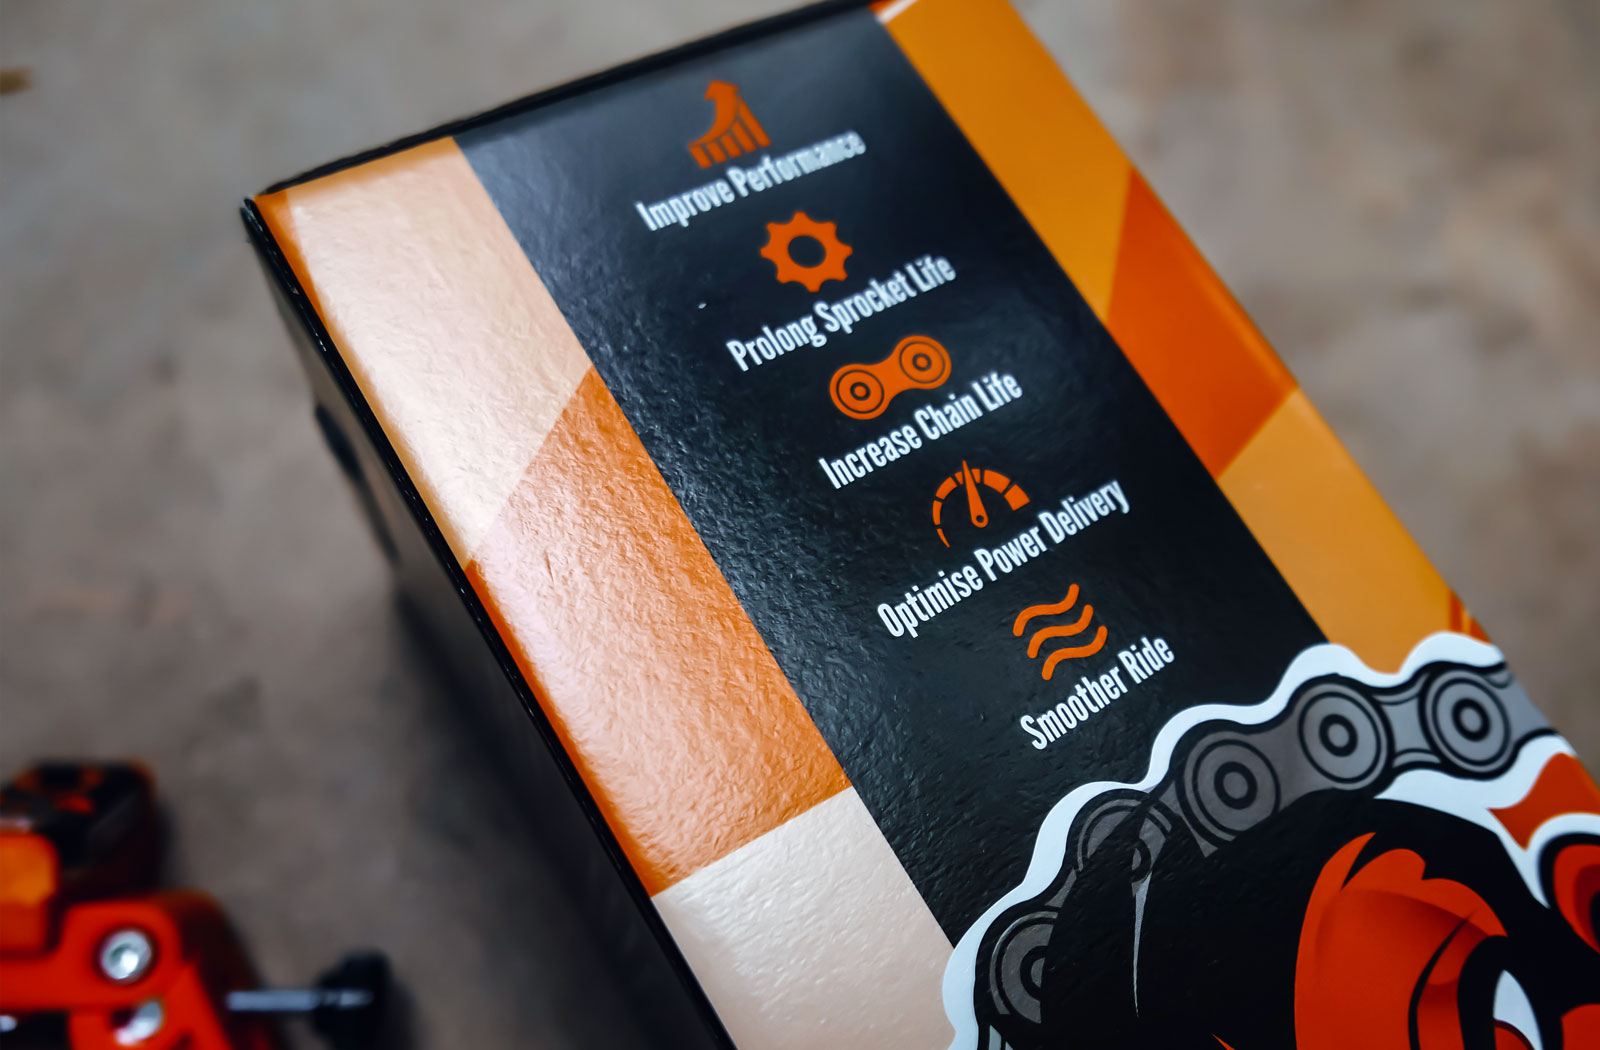
Sustaining your bike’s chain must be a daily behavior of each rider. The overall rule of thumb is that it’s good to clear, lubricate, and examine the chain pressure each 400 – 600 miles (650 – 900 km). In case you’re a daily commuter that may very well be as typically as as soon as a month. Sustaining your chain correctly will lengthen its lifespan, stop extreme put on of your sprockets and can assist maintain your bike secure. An excessively unfastened or tight, rusty, dry chain on a motorbike is a recipe for catastrophe.
Cleansing and lubricating a motorbike chain is an easy course of. You will discover directions on tips on how to do it printed on the packaging of most high quality chain lubricants. It’s simply as simple as washing and waxing your paintwork so there’s actually no excuse to not do it your self. Adjusting the chain, nonetheless, is a barely extra sophisticated course of that may appear formidable to the uninitiated. The excellent news is there’s a simple resolution and it’s known as the Tru-Rigidity Chain Monkey.
What’s a Chain Monkey?
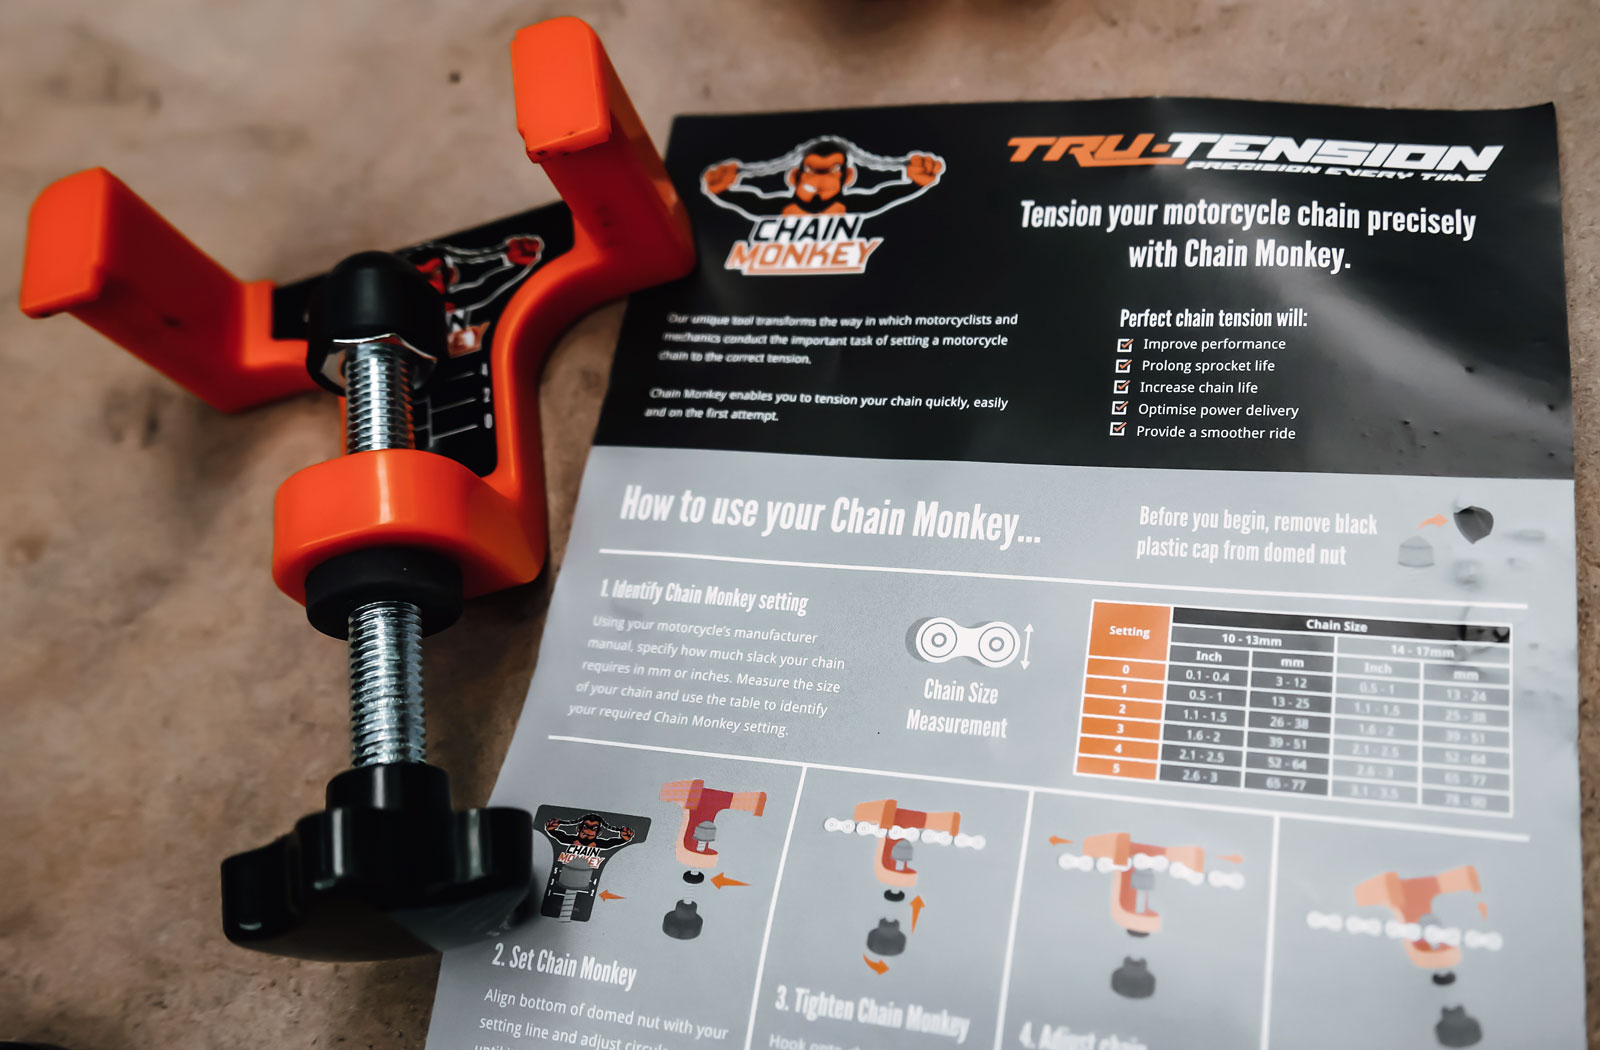
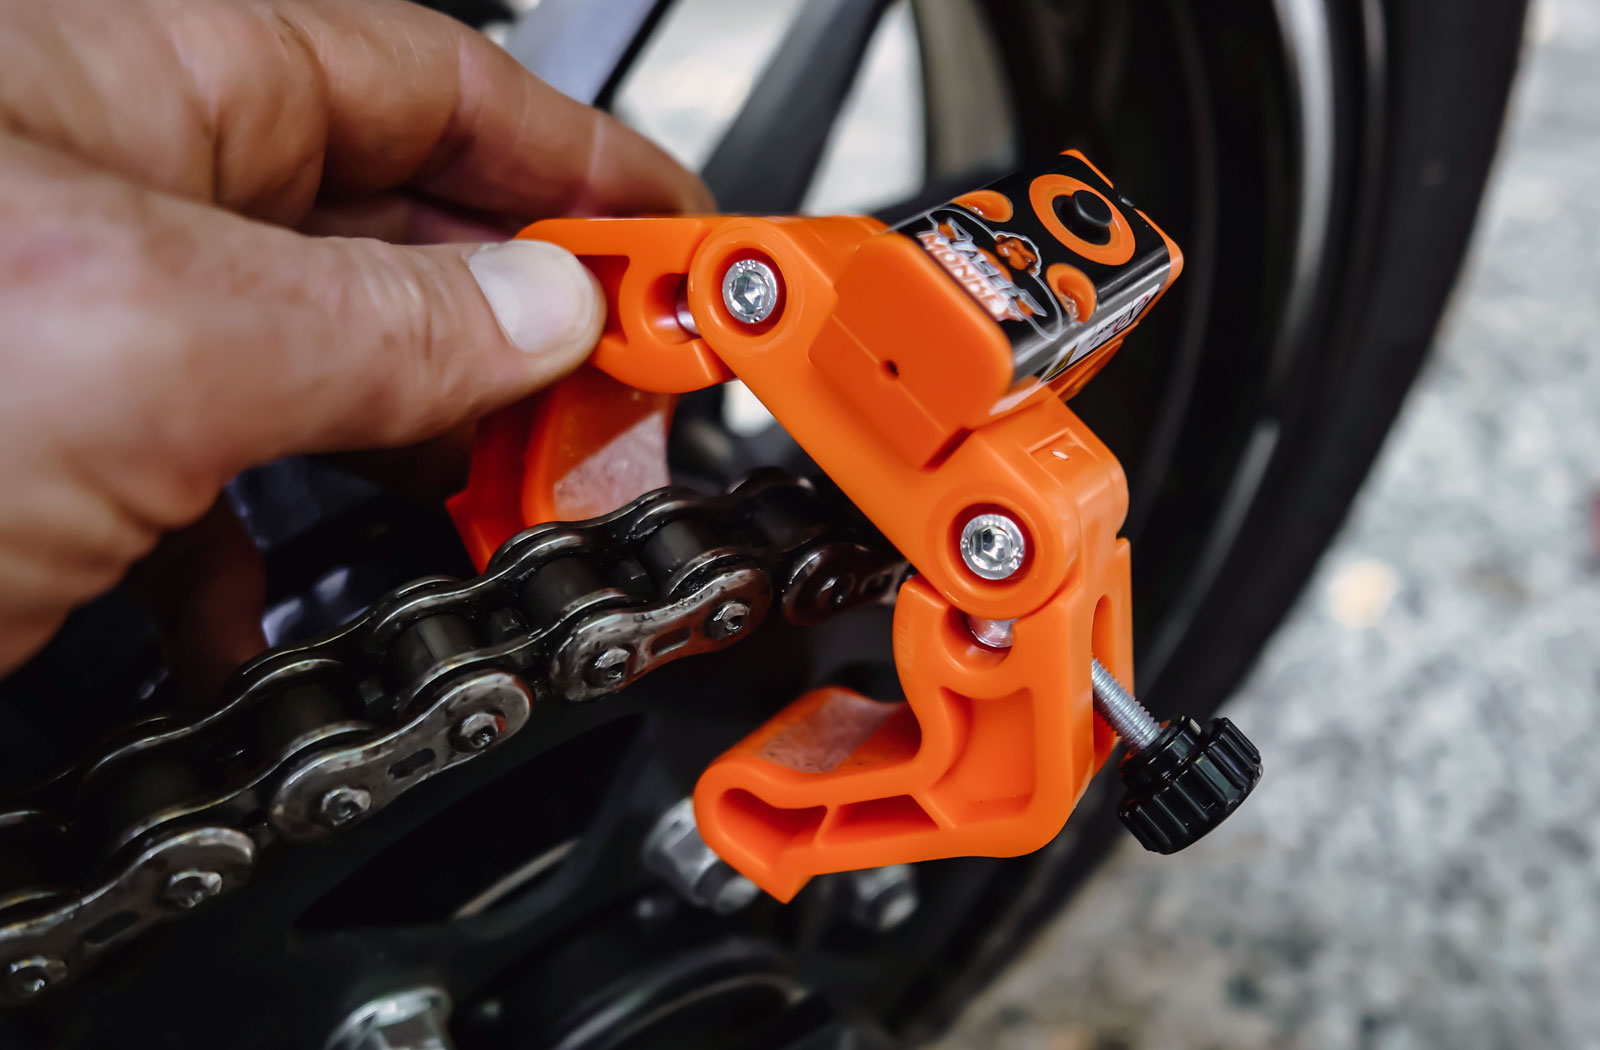
The Tru-Rigidity Chain Monkey is an easy but good little machine that takes the guesswork out of adjusting a motorbike chain. Your bike’s chain ought to have slack in it. The precise quantity of slack is specified by the bike’s producer as a spread i.e. 20 – 30mm. The Chain Monkey is designed that will help you set that vary exactly with out the trial-and-error you encounter when not utilizing the device.
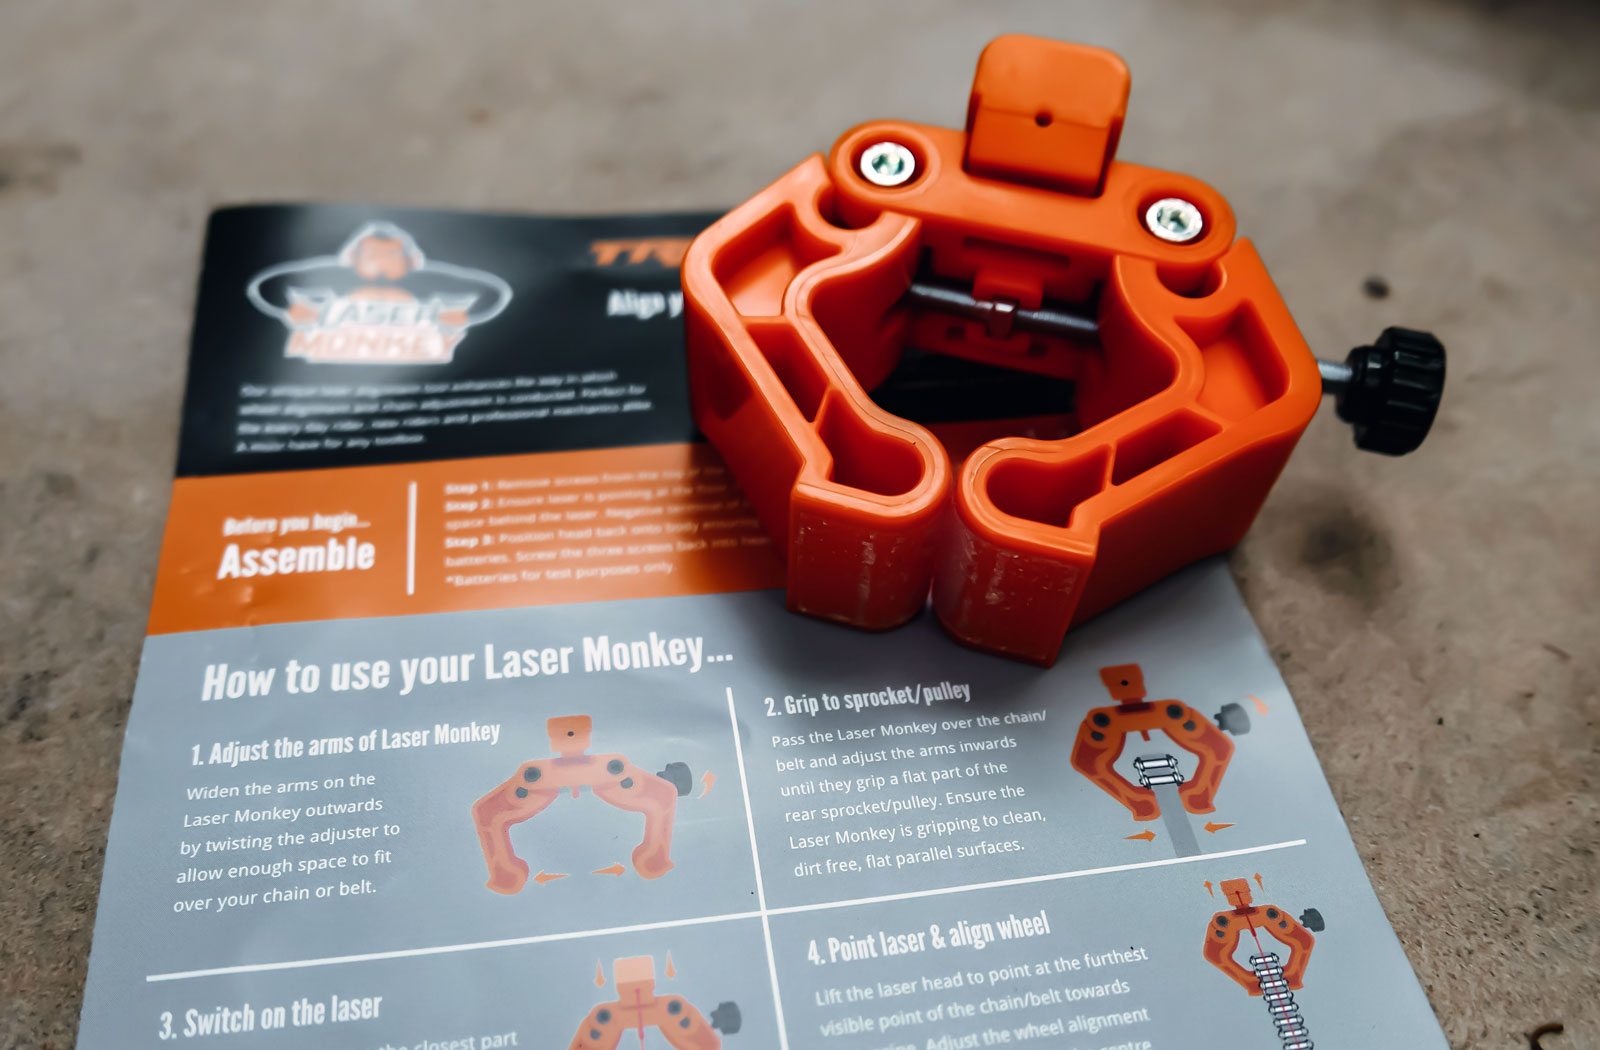
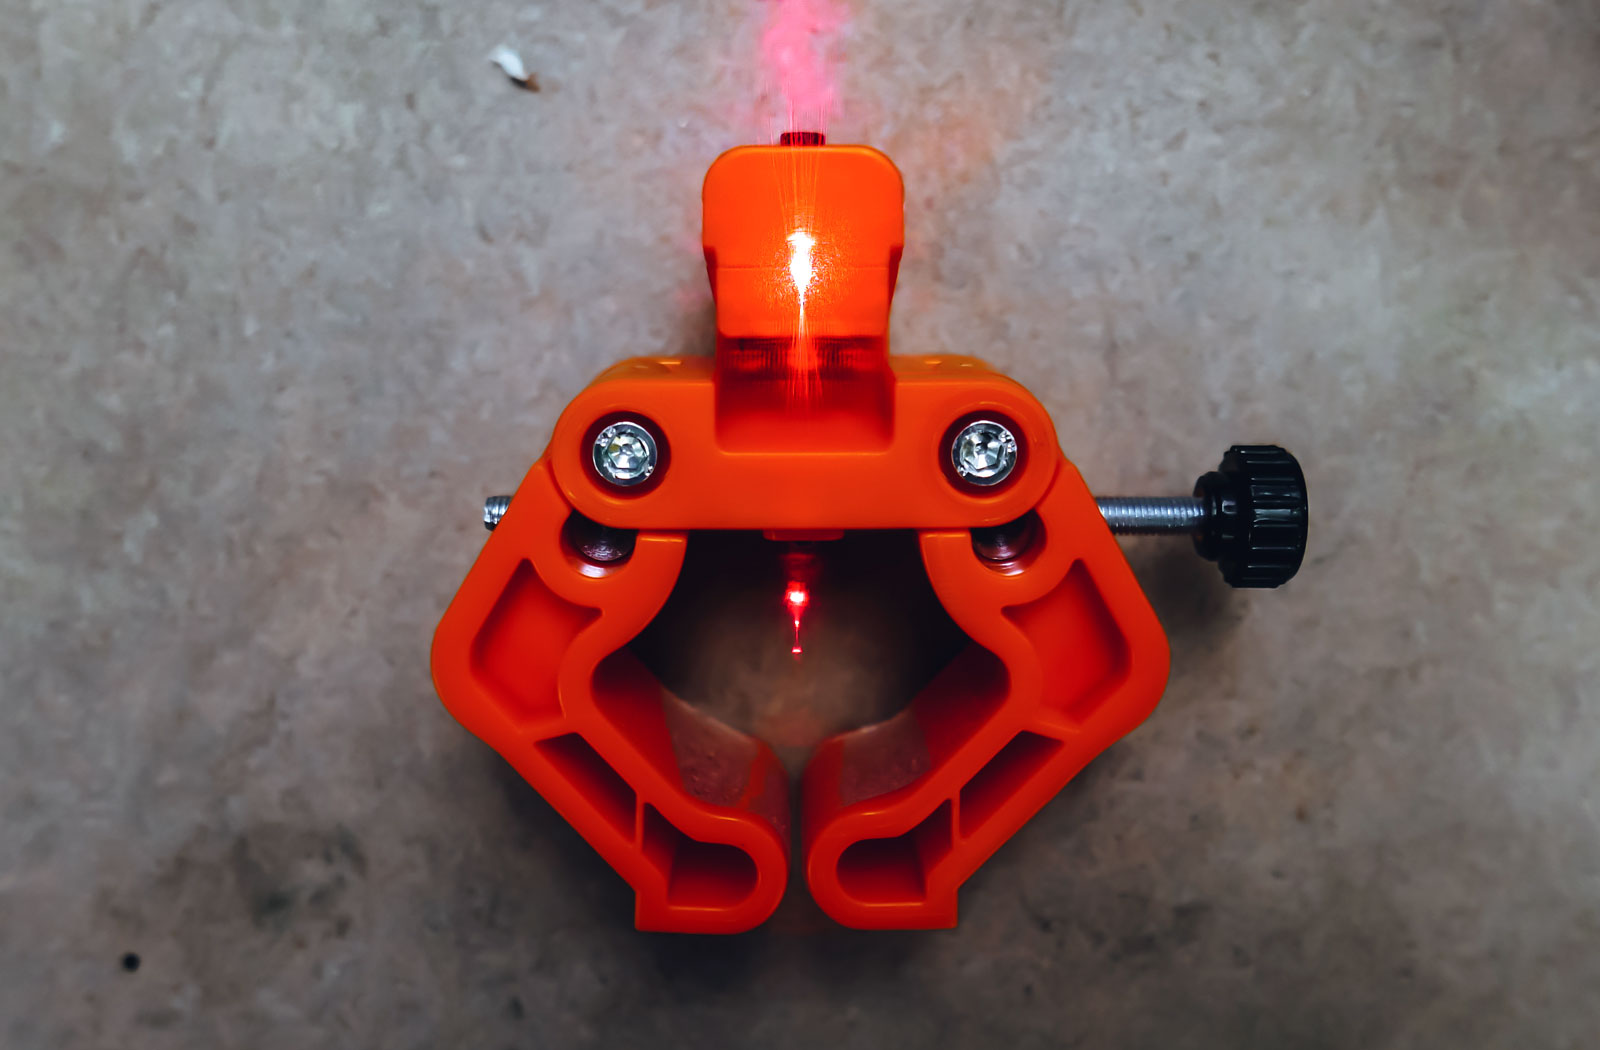
Tru-Rigidity additionally sells a product known as the Laser Monkey. Used along with the Chain Monkey it lets you align your bike’s wheel in order that the chain (or belt) is operating true. Together with your chain’s pressure set accurately and operating true your chain and sprockets will last more and their total efficiency is improved.
Earlier than adjusting your bike chain
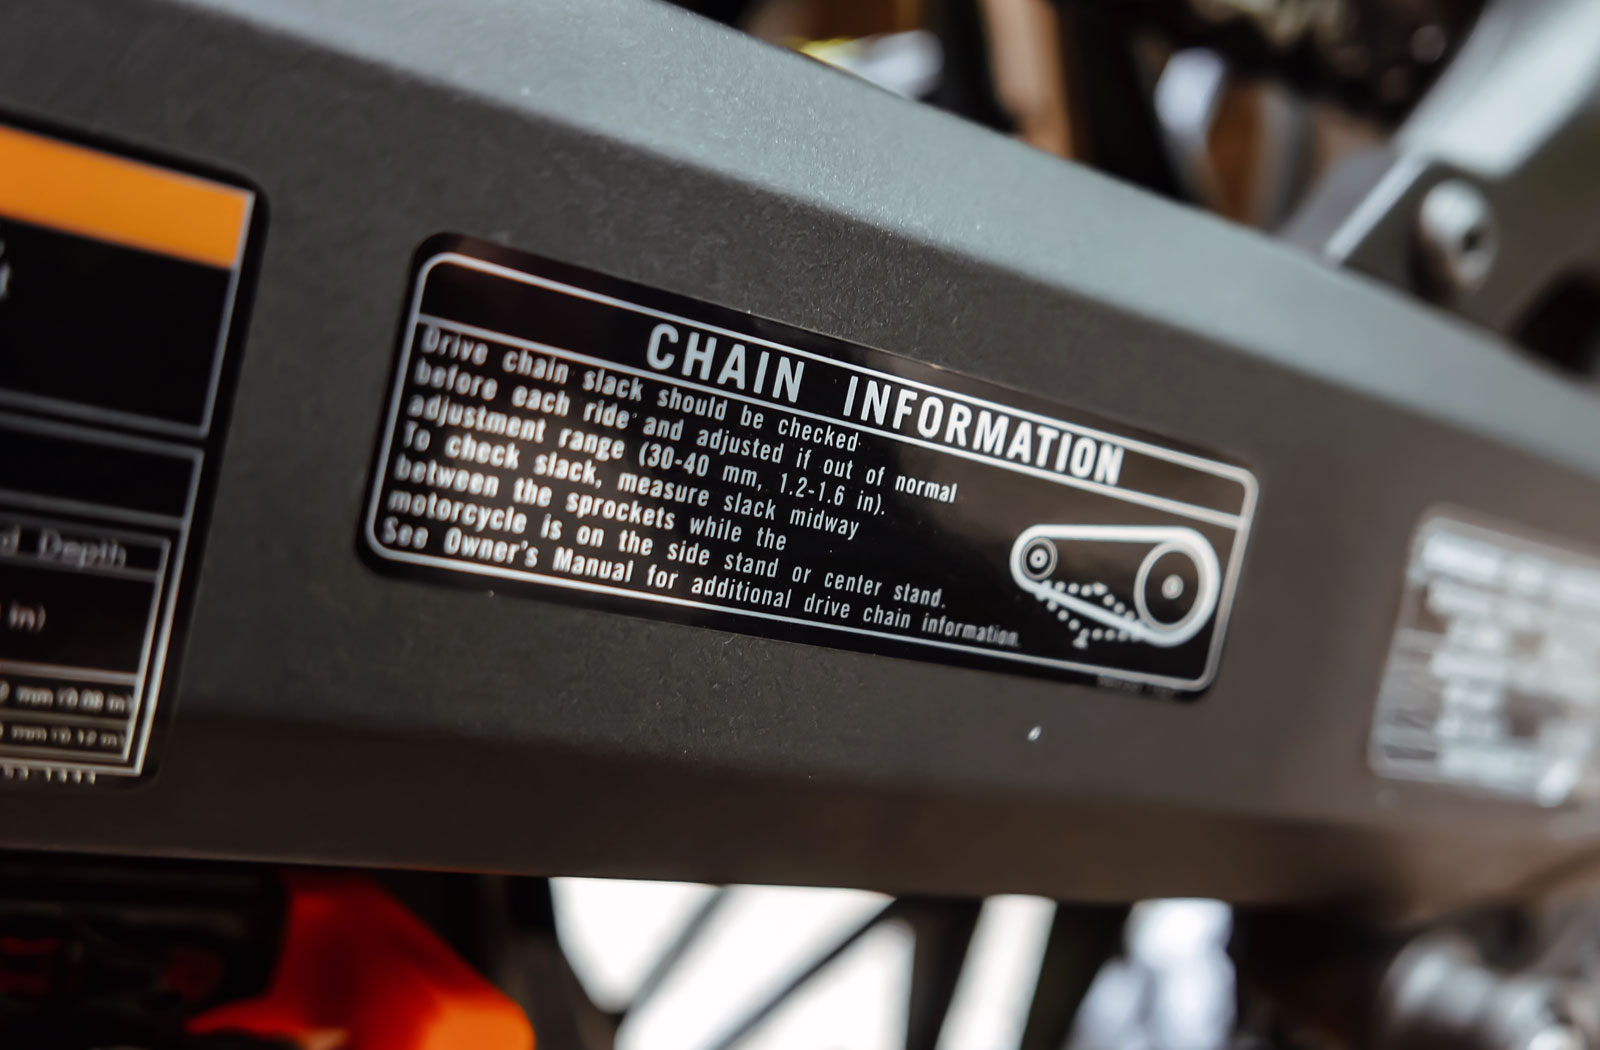
The method for adjusting the chain on a motorbike will fluctuate from mannequin to mannequin. There are several types of axle chain tensioners and other ways the bike must be sitting throughout the course of (wheel on or off the bottom). So earlier than you start you should definitely seek the advice of your workshop guide for particular directions. On our take a look at bike, a Kawasaki Z900RS Cafe, the chain slack specs are listed on the swingarm and the adjustment course of is printed within the consumer guide.
PLEASE NOTE: It’s all the time vital to keep in mind that if performed incorrectly upkeep duties like this might injury your bike or render it harmful to experience. If you’re involved you cannot carry out this job competently ask a educated mechanic to do it for you.
Easy methods to use the Tru-Rigidity Chain Monkey
Step one in adjusting any chain is to loosen your bike’s axle. Carry out this step as per your workshop guide.
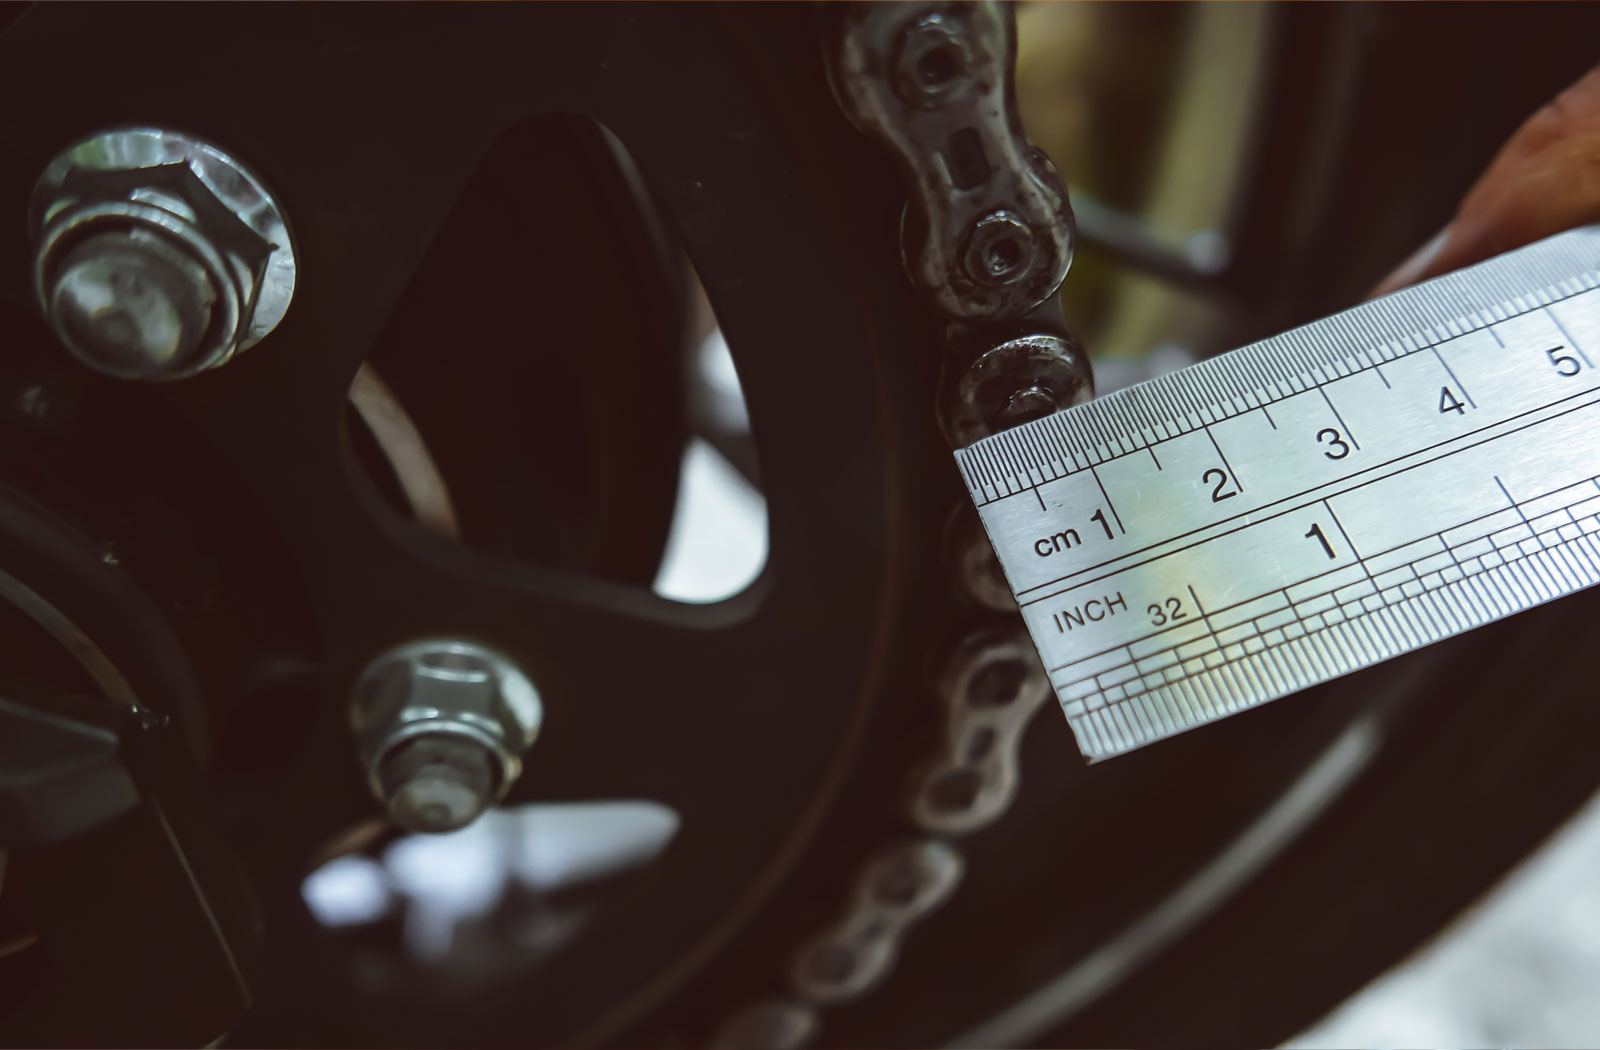
As soon as the axle and chain are unfastened you have to to measure your chain hyperlink dimension. Utilizing a ruler you need to be capable of decide whether or not the chain hyperlinks fall between both 12-13mm or 14-17mm in width (see picture above). The Z900RS was 13mm and the proper slack based on the guide is between 30 – 40mm. Utilizing the equipped chart within the Chain Monkey directions I might see that I wanted to make use of setting 2 on the device.

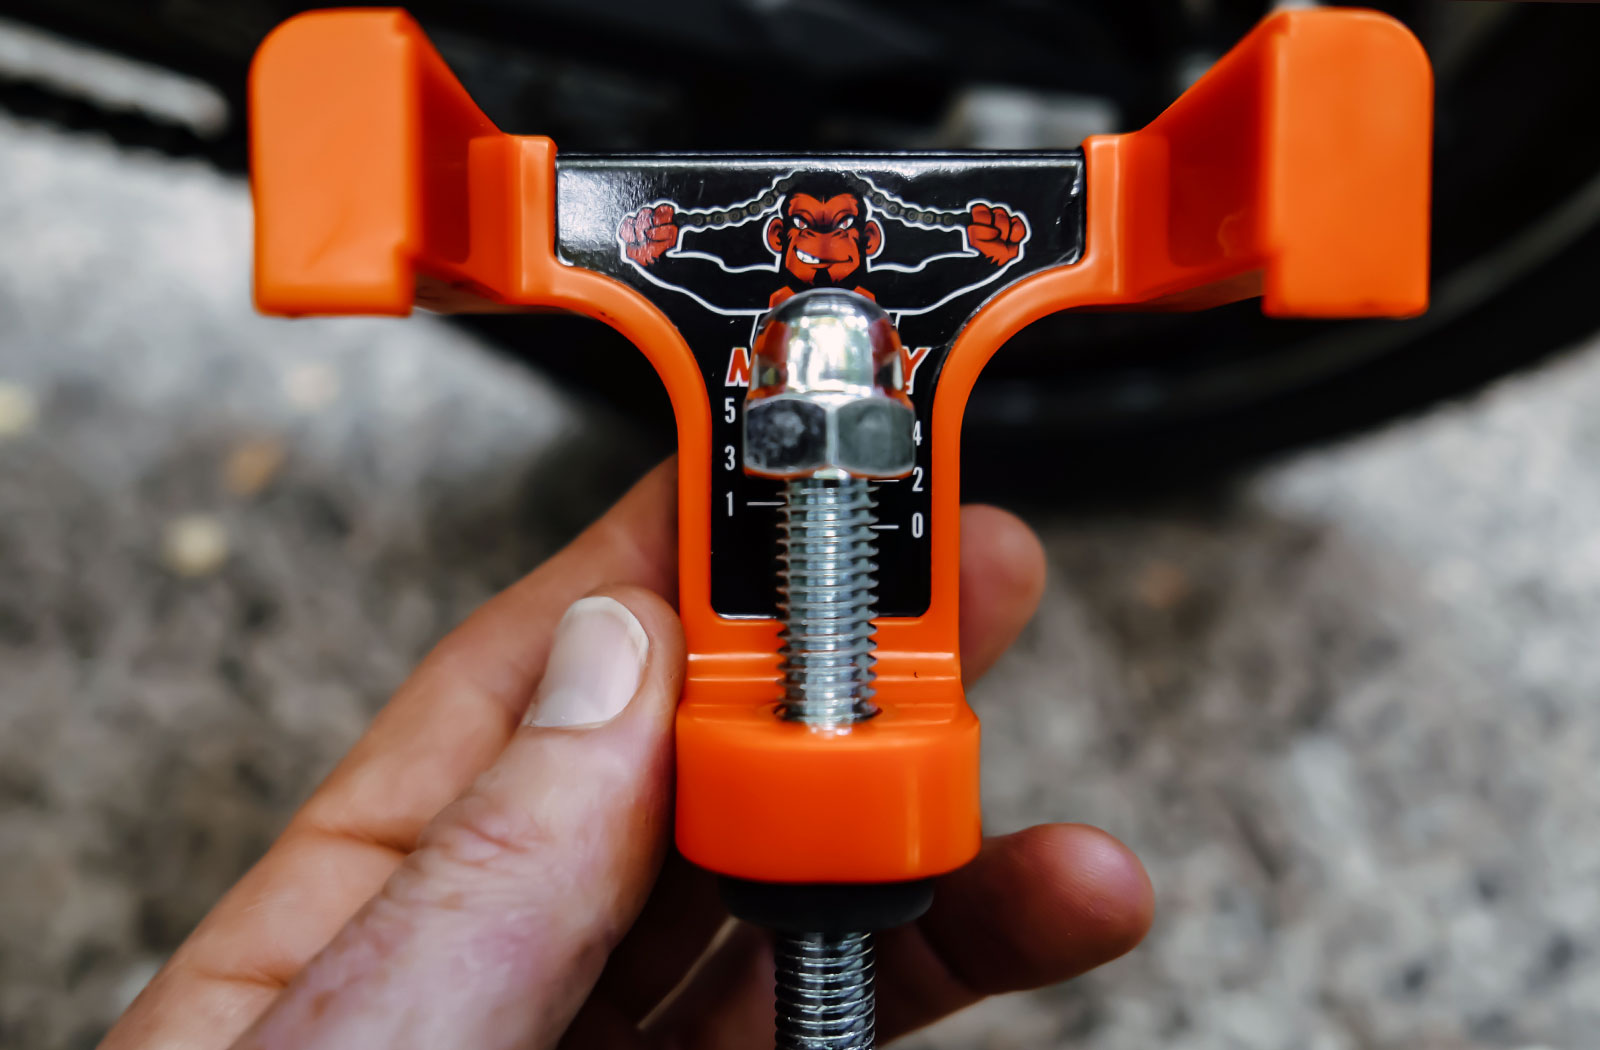
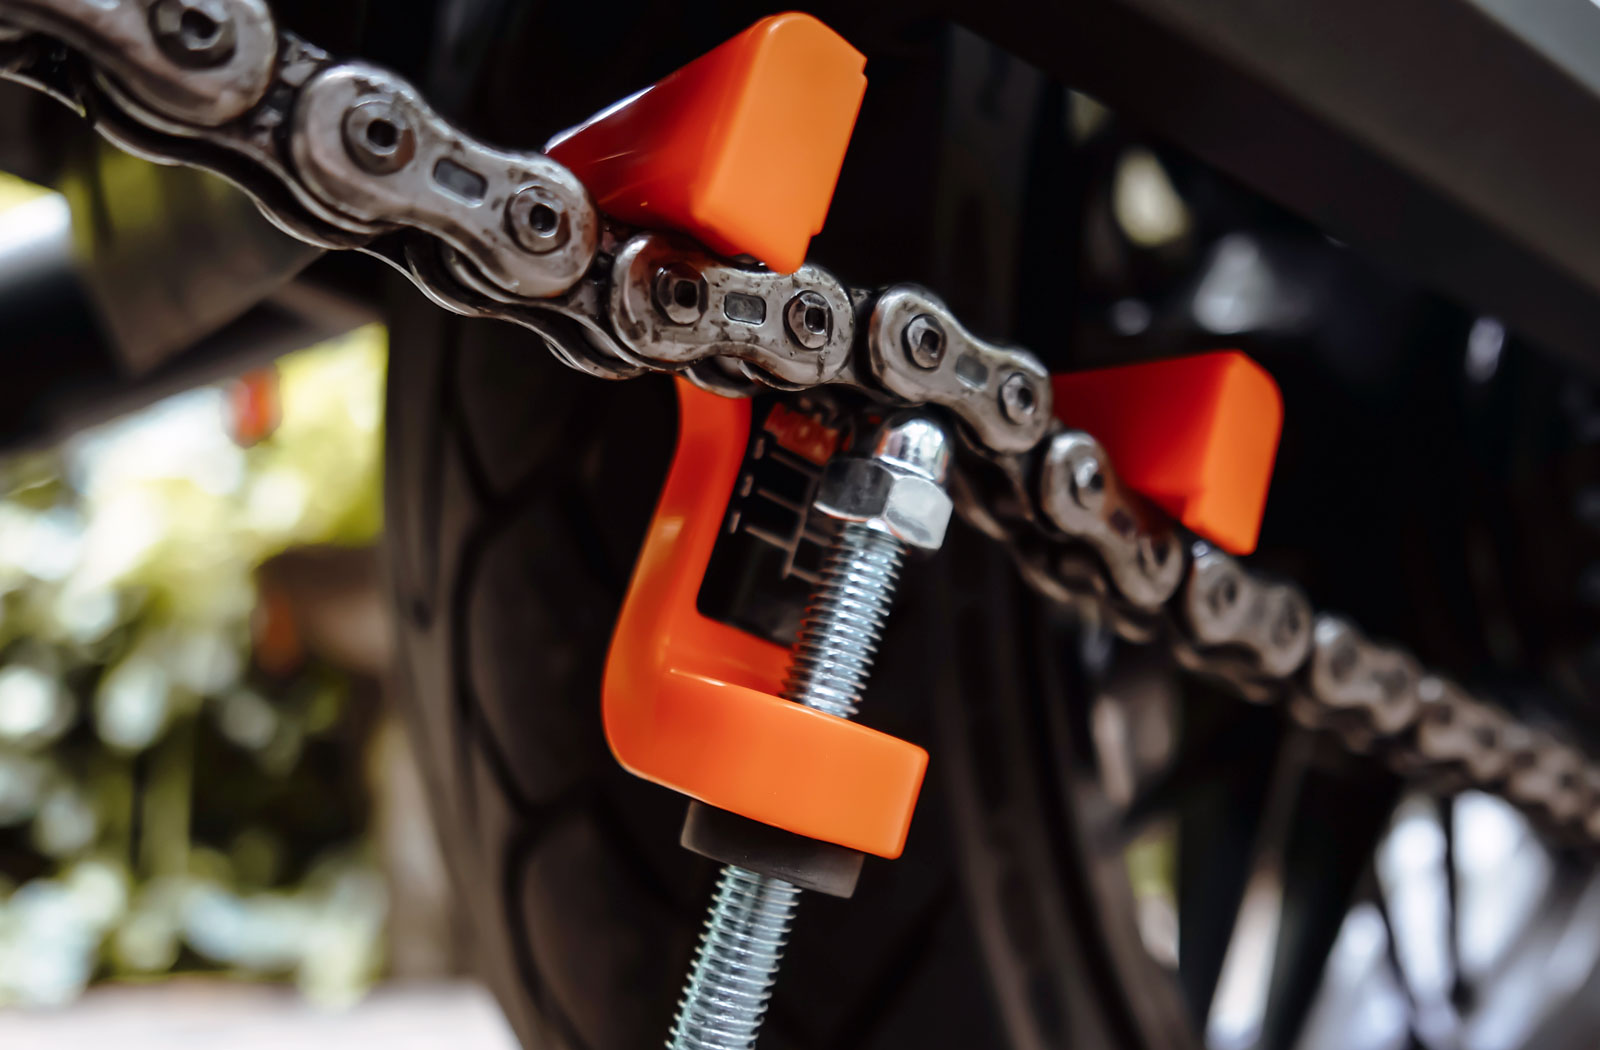
To set the Chain Monkey accurately you screw the bolt in its centre till the bottom of the domed nut is aligned with the proper setting quantity. When it’s positioned accurately transfer the rubber stopper on the decrease half of the bolt as much as seat it towards the physique of the Chain monkey. Now unwind the bolt and hook it onto your chain mid-way between the entrance and rear sprockets. Place the dome nut so it sits within the centre of a hyperlink and screw the bolt up till the rubber grommet seats on the base of the Chain Monkey. This can type a kink within the chain which equates to the scale of the slack required.

Now with out eradicating the Chain Monkey pull the rear wheel again till the chain is taught i.e. no slack in any respect. The axle can then be tightened as per your workshop guide. As soon as that’s performed merely take away the Chain Monkey and your chain slack can be set accurately. Sure, it’s that simple!
Easy methods to use the Tru-Rigidity Laser Monkey
The Tru-Rigidity Laser Monkey is used throughout the closing step of adjusting your chain. That is while you alter the angle of your axle to make sure the chain is operating true. The method for doing that is defined in your bike’s workshop guide. The problem with the normal strategies nonetheless is that they’re not a precise science.
Most often, wheel alignment is judged utilizing a set of markers on the swingarm. In case you don’t have a motorbike bench to work on getting the markers set to equivalent positions could be tough. That is the place the Laser Monkey is available in.
See additionally

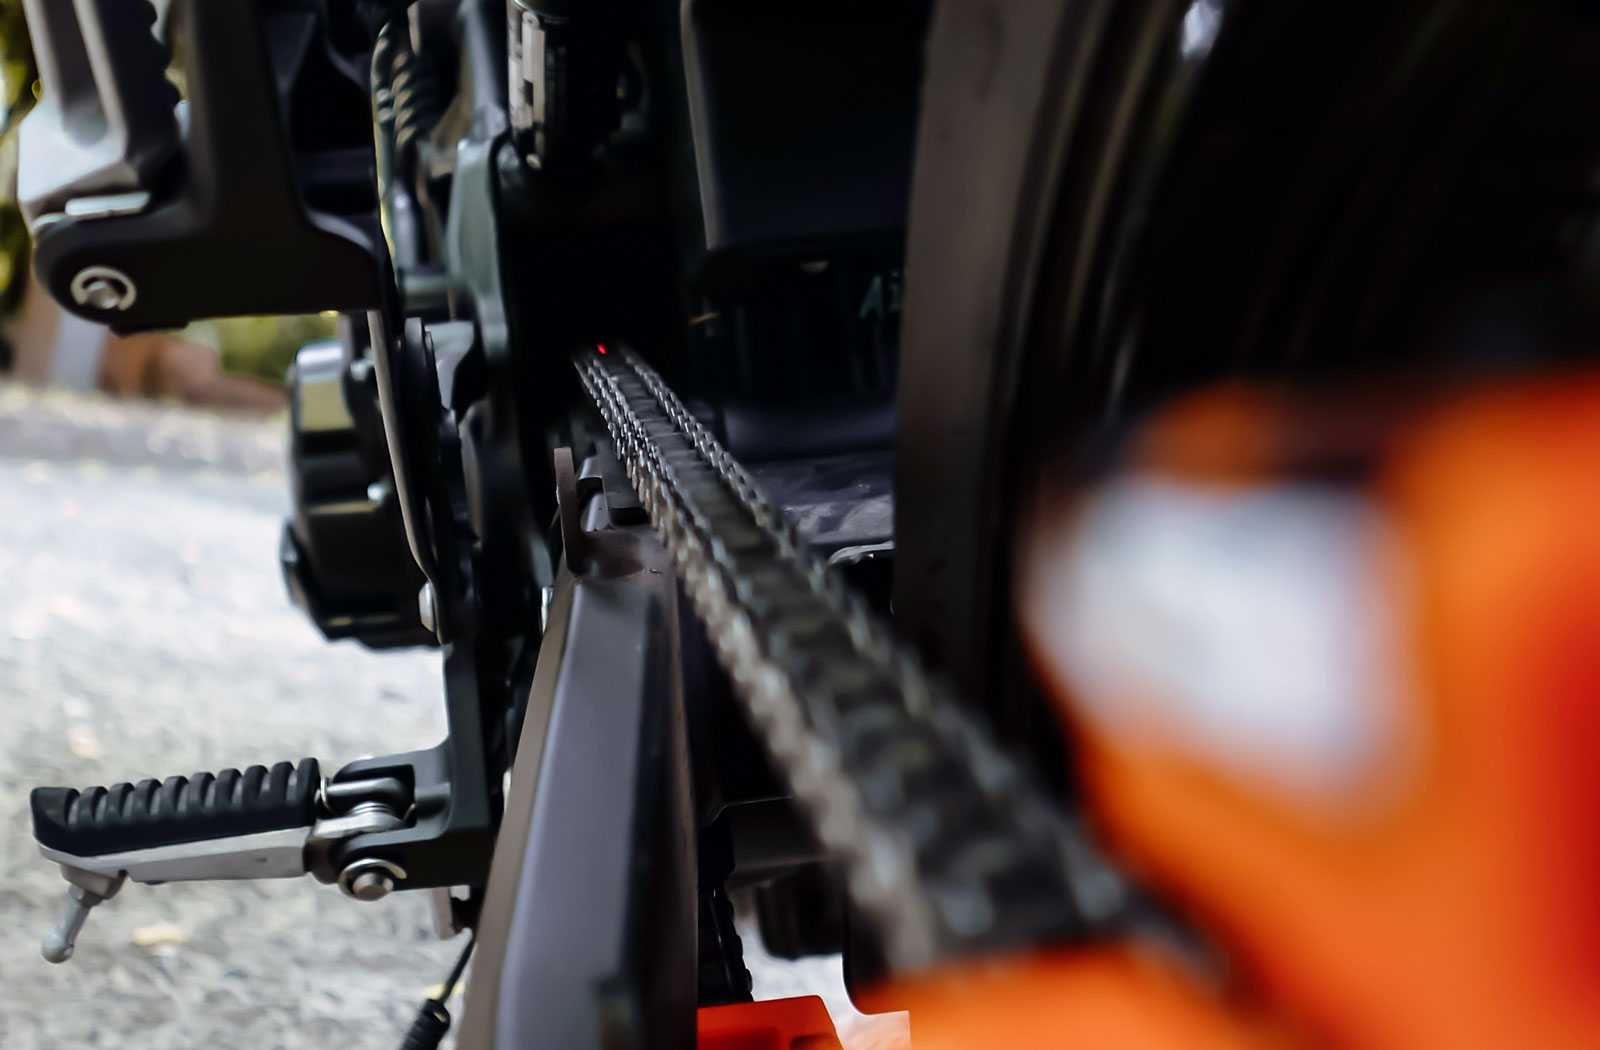
To make use of the Laser Monkey you’ll first must take away your chain guard. Subsequent, clamp the Laser Monkey to the physique of your rear sprocket (not the chain) on the prime of the sprocket. Activate the crimson dot laser and level it on the closest chain hyperlink. Now alter the Laser Monkey in order that the crimson dot sits within the centre of the chain.
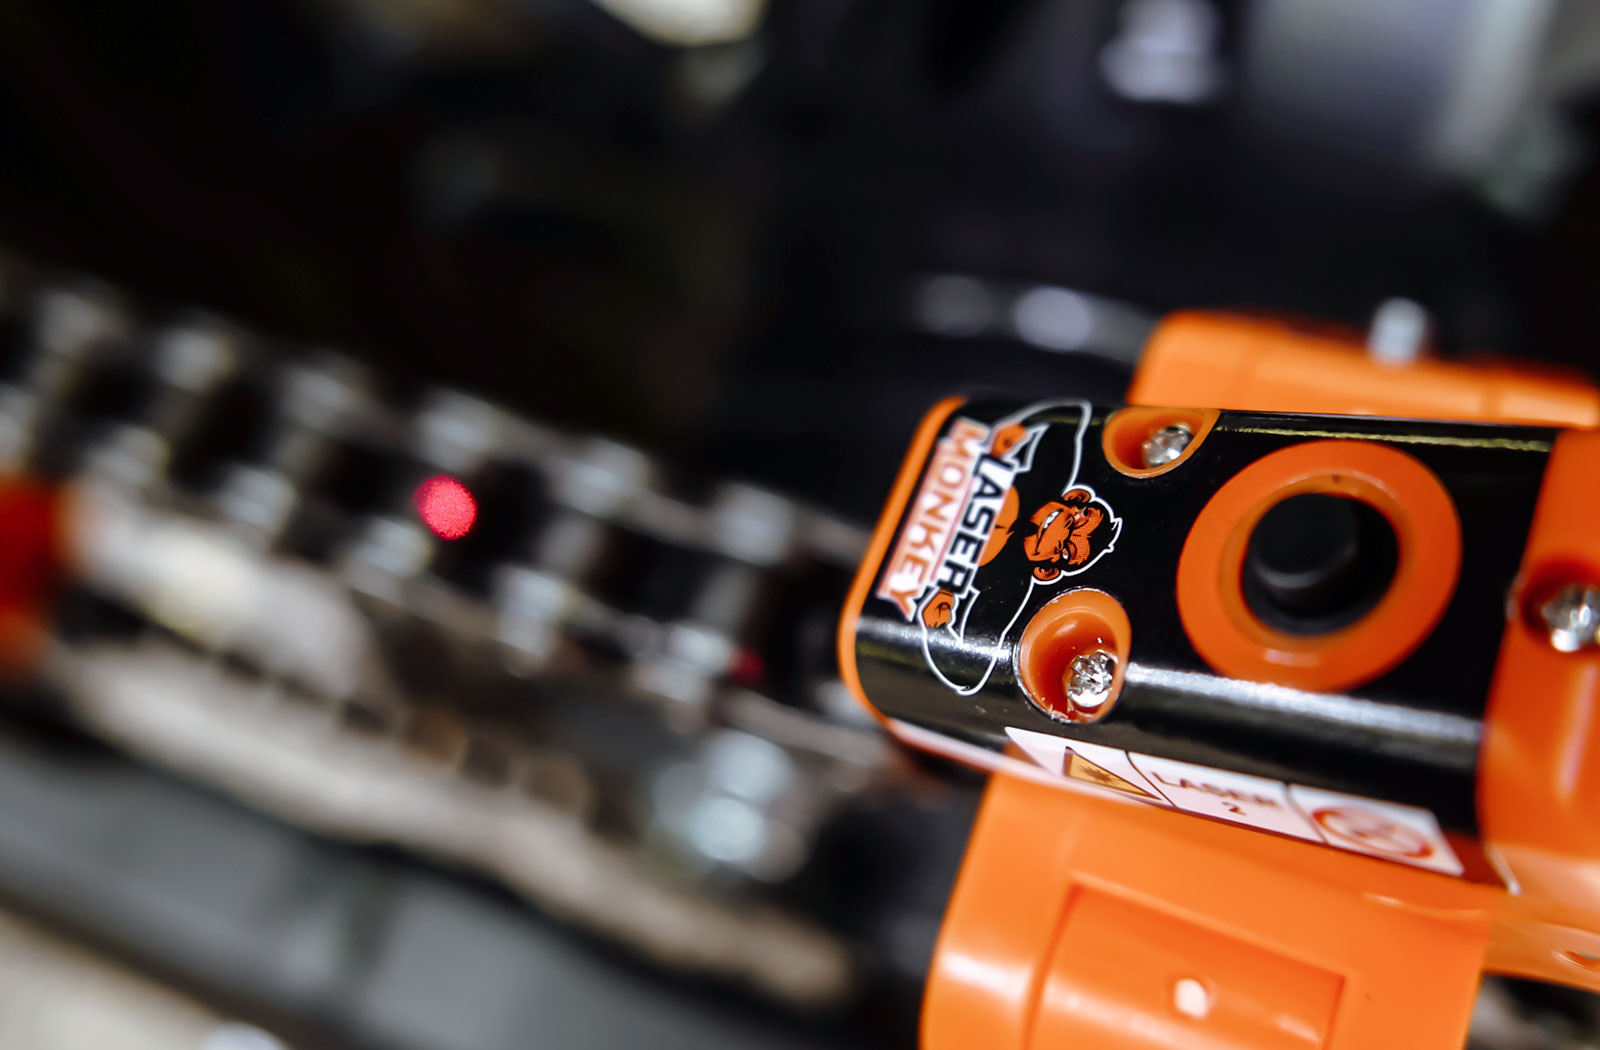
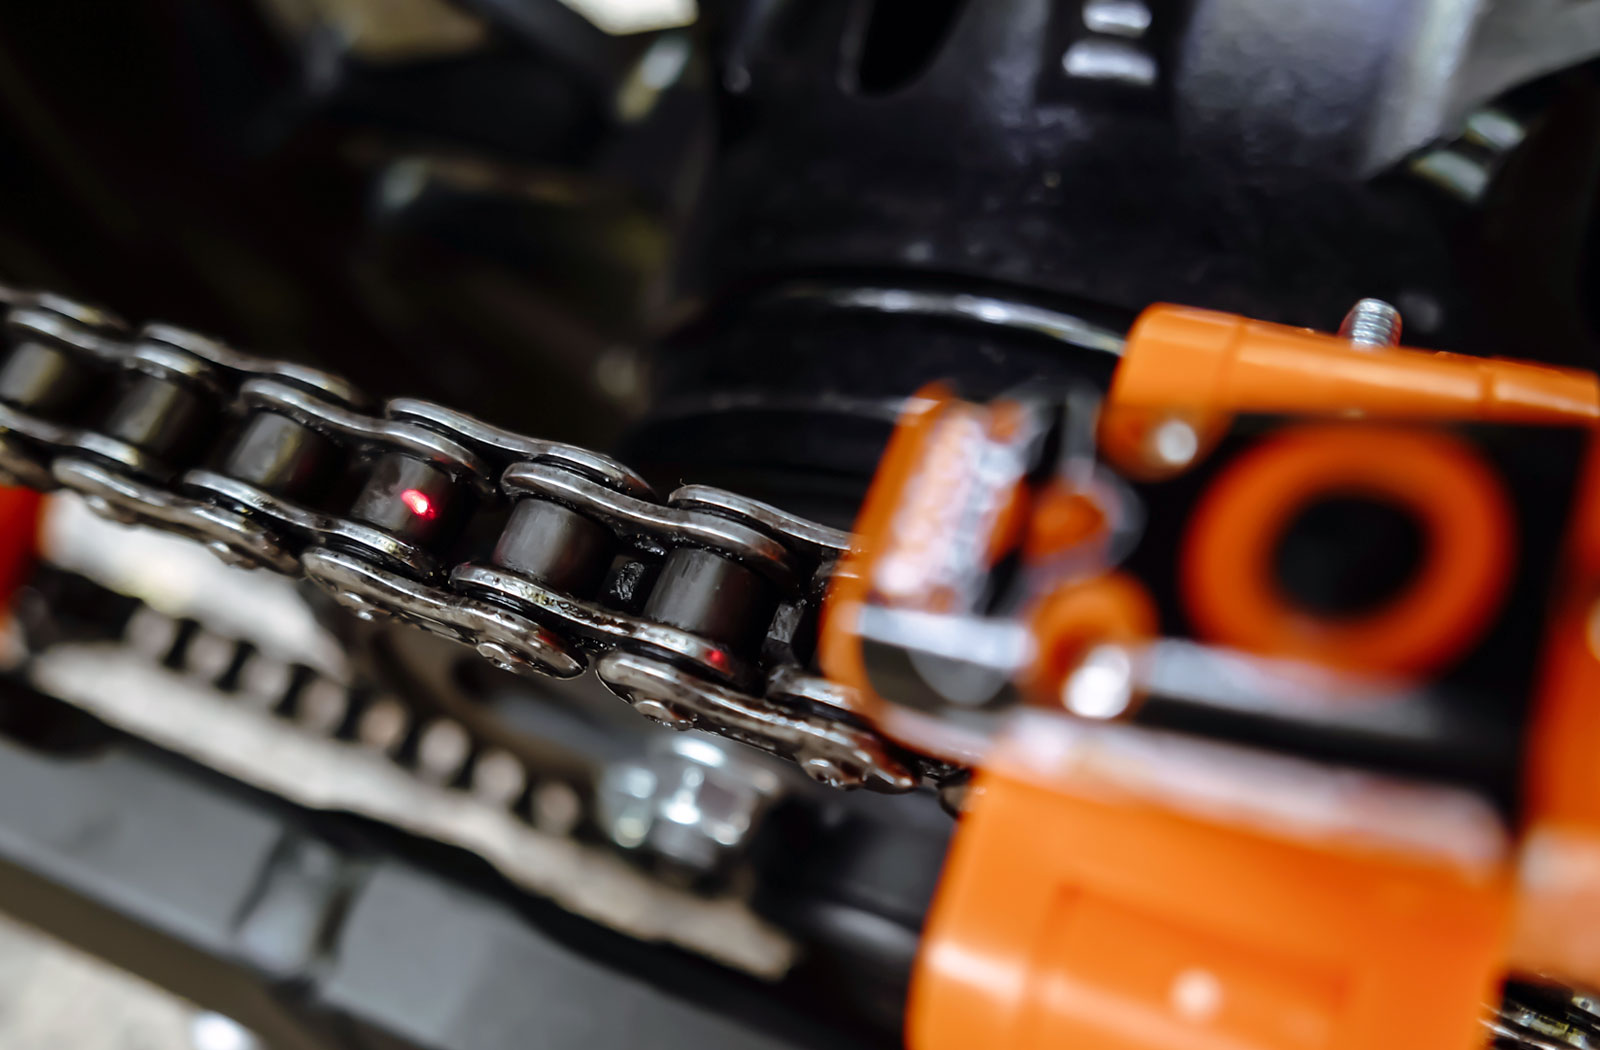
Now tilt the laser up till the crimson dot sits on the furthest chain hyperlink you’ll be able to see. If the dot isn’t sitting on the centre of that hyperlink alter the axle angle based on the workshop guide directions. As soon as the dot is centred decrease and lift the laser once more to examine it’s nonetheless aligned centrally at each factors of the chain. When it’s you’ll be able to tighten the axle based on your workshop guide specs.
Tru-Rigidity Chain Monkey and Laser Monkey closing verdict
Having carried out my very own bike chain upkeep for years now these merchandise are properly price having for two causes. Firstly they make your entire course of a lot sooner. Utilizing the True-Rigidity instruments removes all the measuring, testing and remeasuring carried out whereas utilizing the usual chain adjustment course of.
Secondly, though quite simple in its design, the Laser Monkey is an extremely exact device. It’s because the alignment is ready over a distance of round 1 meter which supplies a way more correct outcome than utilizing the notches on the swingarm. Earlier than adjusting my chain I used the Laser Monkey to see how properly it was already aligned. To my shock, the crimson dot was about 3-4mm off-centre. That won’t sound like a lot, however it’s sufficient to trigger pointless sprocket put on. I now know that my axle and chain are aligned useless straight.
Would I like to recommend this product? Sure. The Tru-Rigidity Chain Monkey and Laser Monkey take the guesswork out of what’s basically a important upkeep job. I don’t typically see merchandise that I’d label as revolutionary, however these intelligent upkeep instruments positively match the invoice
Out there from: Tru-Rigidity
[ad_2]
Source_link


